
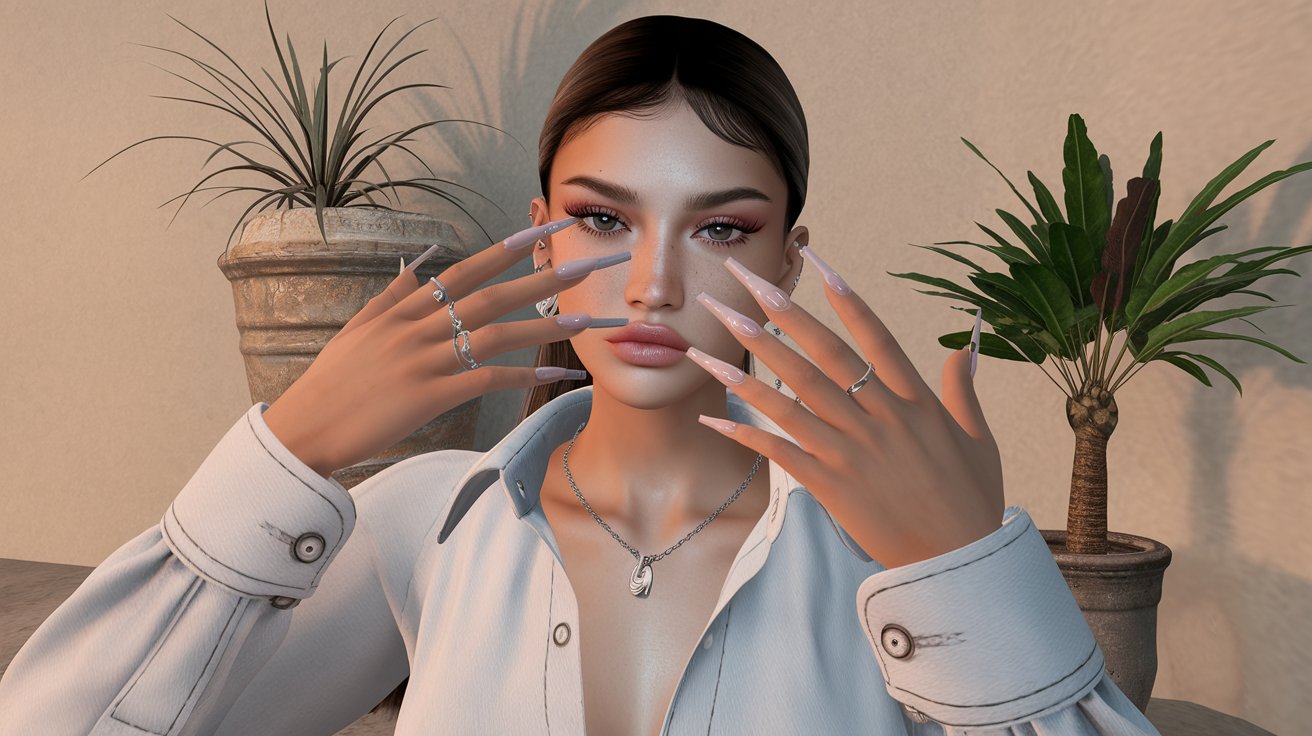
Learning the proper steps to apply gel polish is essential for achieving salon-quality nails at home. This comprehensive guide covers every technique from nail preparation to final curing, ensuring your gel polish application lasts up to three weeks. Follow these professional methods used by nail technicians across the United States to create flawless, chip-resistant gel nails that maintain their shine and durability.
Essential Preparation Steps for Gel Polish Application
Proper nail preparation is crucial for successful gel polish application and determines how long your manicure will last. Start by removing any existing polish completely using acetone-based remover. Clean your nails thoroughly to eliminate oils, lotions, and debris that could prevent proper adhesion. The preparation phase typically takes 15-20 minutes but significantly impacts the final results.
Professional nail technicians in the United States emphasize that nail preparation accounts for 60% of gel polish longevity. Skipping these initial steps often results in chipping, peeling, or premature wear within days of application. Investing time in proper preparation ensures your gel polish maintains its pristine appearance for the full two to three week duration.
Nail Shaping and Filing Techniques
Shape your nails using a high-quality nail file, working from the outer corners toward the center in one direction. Avoid back-and-forth filing motions that can cause splitting and weakness. Nail shaping should create your desired length and form, whether square, oval, or round. File gently to prevent damage to the nail plate, which could affect gel polish adhesion.
Cuticle Care and Removal Process
Apply cuticle softener or remover around the nail bed and allow it to work for 2-3 minutes. Use a cuticle pusher or orange stick to gently push back the cuticles, creating a clean nail surface. Cuticle removal ensures the gel polish can adhere properly to the entire nail plate without gaps or lifting. Trim any excess cuticle skin carefully with sterilized cuticle nippers.
Nail Surface Preparation and Buffing
Buffing the nail surface creates microscopic texture that helps gel polish adhesion significantly. Use a fine-grit buffer to gently roughen the nail plate, removing the natural shine without creating deep scratches. Focus on the entire nail surface, including the free edge, to ensure uniform adhesion. This step is particularly important for natural nails, which tend to be smoother than artificial extensions.
After buffing, remove all dust and debris using a clean, lint-free cloth or nail brush. The nail surface should appear matte and feel slightly rough to the touch. Proper buffing technique prevents gel polish from lifting at the edges and ensures even color application. Over-buffing can damage the nail, while under-buffing may result in poor adhesion and premature chipping.
Cleaning and Degreasing Your Nails
Thoroughly clean and degrease your nails using rubbing alcohol (70% isopropyl) or specialized nail dehydrator. Apply the solution to a lint-free wipe and clean each nail completely, including the sidewalls and cuticle area. Nail degreasing removes natural oils that prevent proper gel polish bonding to the nail plate. This step should be repeated twice to ensure complete oil removal.
Allow your nails to air dry for 30-60 seconds after degreasing, or use a nail fan to speed the process. Avoid touching your nails with your fingers during this time, as skin oils can recontaminate the surface. Proper degreasing technique is critical for gel polish longevity, especially for clients with naturally oily nail beds or those who use hand creams regularly.
Primer Application for Enhanced Adhesion
Apply a thin coat of nail primer to each nail, avoiding the skin and cuticle area. Primer creates a chemical bond between the natural nail and gel polish, significantly improving adhesion and wear time. Choose between acid-based primers for difficult-to-adhere nails or non-acid primers for sensitive or damaged nails. Allow the primer to air dry completely before proceeding to the base coat.
Professional nail technicians recommend using primer sparingly, as excessive application can actually weaken the bond. Primer application technique involves covering the nail plate evenly without pooling around the cuticles or sidewalls. The primer should appear clear and dry within 60 seconds of application before moving to the next step in the gel polish process.
Base Coat Application and Curing Process
Apply a thin, even coat of gel base coat from cuticle to free edge, ensuring complete coverage without touching the skin. The base coat protects the natural nail and provides a foundation for the color polish. Brush the base coat in three strokes: one down the center and one on each side, then seal the free edge by running the brush horizontally across the nail tip.
Cure the base coat under a UV or LED lamp according to manufacturer specifications, typically 30-60 seconds for LED or 2 minutes for UV. Proper curing ensures the base coat fully hardens and creates the ideal surface for color application. Avoid over-curing, which can cause the layer to become too hard and affect adhesion of subsequent coats.
UV Light vs LED Light Curing
LED lamps cure gel polish faster and more efficiently than traditional UV lamps, typically requiring 30-45 seconds per coat compared to 2 minutes under UV. LED curing also produces less heat, reducing the risk of burning or discomfort during the process. Most professional salons in the United States have switched to LED technology for improved efficiency and client comfort.
Avoiding Common Base Coat Mistakes
Common base coat errors include applying too thick a layer, which can cause wrinkling or incomplete curing, and getting product on the skin, which leads to lifting and premature wear. Base coat application should be thin enough to see the nail through the product but opaque enough to provide proper coverage and protection for the natural nail.
Color Application Techniques for Even Coverage
Apply the first coat of gel polish color in thin, even strokes, using the same three-stroke technique as the base coat. Start with a small amount of polish on the brush and build coverage gradually rather than attempting full opacity in one coat. The first color coat should be semi-transparent, allowing you to see the nail beneath while providing an even base for additional layers.
Cure the first color coat completely before applying the second coat. Most gel polish colors require two to three coats for full opacity and even coverage. Apply each coat slightly thinner than traditional nail polish, as gel polish builds opacity through multiple thin layers rather than one thick application. Seal the free edge with each coat to prevent chipping and ensure maximum wear time.
Color Selection and Opacity Considerations
Choose gel polish colors based on your skin tone and desired opacity level. Darker colors typically require two coats for full coverage, while lighter shades may need three coats. Sheer colors and nudes often require additional coats to achieve the desired look, so plan your application time accordingly for these formulations.
Avoiding Streaks and Brush Marks
Prevent streaks and brush marks by maintaining consistent pressure and speed during color application. Work quickly but smoothly, completing each nail in one continuous motion without going back to fix small imperfections. The self-leveling properties of gel polish will smooth minor irregularities during the curing process.
Top Coat Application for Lasting Shine
Apply a generous coat of gel top coat over the cured color, ensuring complete coverage from cuticle to free edge. The top coat provides the glossy finish and protects the color from chipping, scratching, and fading. Use slightly more product than with previous coats to create a smooth, even surface that enhances the color beneath.
Seal the free edge thoroughly with top coat, as this area receives the most wear and stress during daily activities. Top coat application should completely encapsulate the color layers, creating a protective barrier that maintains the manicure’s appearance for weeks. Cure the top coat according to manufacturer instructions, typically 60 seconds under LED or 2 minutes under UV light.
Final Cleanup and Finishing Touches
After curing the top coat, remove the sticky residue layer using rubbing alcohol and a lint-free wipe. This final cleanup step reveals the true shine and smoothness of the gel polish finish. Clean each nail thoroughly, paying attention to the cuticle area and sidewalls where residue commonly accumulates.
Apply cuticle oil around the nail bed to restore moisture and flexibility to the cuticle area. Post-application care includes moisturizing the hands and nails to maintain healthy nail growth and prevent dry, damaged cuticles. The entire gel polish application process typically takes 45-60 minutes, including preparation, application, and finishing steps.
Common Mistakes and Troubleshooting Tips
The most common gel polish application mistakes include skipping the dehydration step, applying coats too thickly, and getting product on the skin. These errors result in lifting, chipping, or premature wear within days of application. Take time with each step and resist the urge to rush through the process for best results.
If you notice bubbles in your gel polish, thin your coats and avoid shaking the bottle vigorously. Troubleshooting gel polish issues often involves examining your technique and making adjustments to application thickness, curing time, or preparation methods. Keep detailed notes about what works best for your specific nails and polish brands.
Fixing Application Errors During Process
Minor application errors can be corrected before curing by using a clean brush or orange stick to smooth the polish. Error correction should be done immediately after application while the polish is still workable. For major mistakes, remove the entire layer with acetone and start fresh rather than attempting to patch over significant imperfections.
Preventing Common Lifting and Chipping Issues
Prevent lifting and chipping by ensuring proper nail preparation, avoiding contact with skin during application, and sealing the free edge with each coat. Gel polish longevity depends on these preventive measures more than any single application technique. Regular maintenance and proper aftercare also contribute significantly to extended wear time.
Related video about steps to apply gel polish
This video complements the article information with a practical visual demonstration.
Frequently Asked Questions
How long does it take to apply gel polish step by step?
The complete gel polish application process takes 45-60 minutes, including nail preparation (15-20 minutes), base coat application and curing (5 minutes), color application with 2-3 coats (15-20 minutes), top coat application (5 minutes), and final cleanup (5-10 minutes). Professional techniques may reduce this time slightly with experience.
Do you need UV light to apply gel polish properly?
Yes, UV or LED light is essential for curing gel polish. Each layer must be cured for 30-60 seconds under LED light or 2 minutes under UV light. Without proper curing, gel polish remains soft and will smudge or peel off immediately. LED lamps are preferred for faster curing and reduced heat exposure.
What order should you apply gel nail products?
The correct order is: nail preparation and cleaning, primer (if needed), base coat with curing, 2-3 thin color coats with curing between each, top coat with curing, and final cleanup with alcohol. This sequence ensures proper adhesion and maximum durability of your gel polish manicure.
Can beginners successfully apply gel polish at home?
Yes, beginners can achieve professional results by following proper techniques and practicing patience. Start with quality products, take time with nail preparation, apply thin coats, and cure properly between layers. Most people master basic gel polish application within 3-5 attempts with consistent practice.
How do you apply gel polish on short nails effectively?
For short nails, use thin coats and focus on complete cuticle-to-tip coverage without touching the skin. Seal the free edge carefully even on very short nails to prevent chipping. Choose appropriate brush sizes for precise application, and consider lighter colors that require fewer coats for easier application on limited nail surface area.
What causes gel polish to lift or chip prematurely?
Common causes include inadequate nail preparation, getting polish on the skin or cuticles, applying coats too thickly, incomplete curing, or skipping the degreasing step. Oil contamination, over-filing, and exposure to harsh chemicals also contribute to premature wear. Proper technique prevents most gel polish failures.
| Application Step | Key Technique | Time Required |
|---|---|---|
| Nail Preparation | File, buff, clean, degrease | 15-20 minutes |
| Base Coat | Thin application, seal edges | 3-5 minutes |
| Color Application | 2-3 thin coats, cure between | 15-20 minutes |
| Top Coat & Cleanup | Full coverage, remove residue | 8-10 minutes |